
|
Errr.. well... soon to be In The Mail... I have been so behind! I usually have my cards for the coming month ready to go by the last week of the month before, but this month just snuck up on me! I had about two plates worth of stuff piled up on one small plate and I was definitely having trouble sifting through all of it to work it down. I'm still behind, but I've managed to knock some of the pile on my plate down in the way of completing my September birthday cards. Now I just have to get them in the mail and delivered to their recipients! I'm trying to incorporate my new Fun Stampers Journey products into as much as I can in order to share them with others, but I am also trying to use up my Stampin' Up products to move them out so I can move in more FSJ. While crafting yesterday to make 7 birthday cards, I realized that 4, yes FOUR of my Stampin' Up ink pads have dried up! One of them was fairly new and I have not used any of them THAT much. I'm not sure what has caused this. I know that it gets fairly warm in my craft space because the sun sets on that side of the house, but surely that wouldn't be it... or all of my ink pads would be drying up... wouldn't they? Anyway, no time for solving a mystery right now... we have cards to look at! Let's begin with that delicious looking cake, shall we? I adore that cake stamp! There are three different cakes in the set and I always say they make me think of Dr. Seuss cakes.They are just too cute! The Happy was stamped along the edge of the card with a Navy ink from Stampin' Up (since I'm the Crooked Crafter I opted to stamp them all wonky on purpose instead of trying to make them straight), the strip that looks like Washi Tape is actually a stamp that is in the same set and it was inked in a pink Stampin' Up ink and fussy cut out and glued straight to the paper just below the cake, the birthday stamp is also from the same set and was stamped in the same Navy ink and also fussy cut out and popped up on dimensionals and the cupcake, also from the same stamp set, was colored with markers from Stampin' Up so that I could get the red and black for the cherry, the pink for the frosting and the tan for the bottom. I also fussy cut it out and then put some Journey Glaze over it to make it stand out a little more (I see that didn't really make a difference for the picture, though). The background behind the cake stamp was made by rubbing a pink Stampin' Up ink pad directly over the cardstock in a wavy motion. I think it turned out pretty neat, what do you think? I was going to leave the card at that, but BOOM accidents! *smh* Somehow, I managed to get some black (or dark) ink smudged on one of the cards and then as I was taking a picture of the cards... yep... the one standing up fell over... on top of the other card..... that still had wet Journey Glaze on the cupcake. NOOOO! Yep, that brought about a "Woo-sah" moment, for sure. All I could was roll my eyes, laugh... and then take a moment to breathe. So, to cover up my "boo-boos", I added some acrylic dots from Stampin' Up. To You stamp set - You can also buy this in a bundle if you aren't a fan of fussy cutting. Journey Glaze (this comes in a 2 oz bottle as well as a 4 oz bottle) The next card on the list is the Make A Wish card. I used the ink directly to the cardstock technique here on the oval. The background was done by using ink and an Aqua Painter from Stampin' Up. The inks are all from Stampin' Up except for the black used for the sentiment, which is Black Licorice from FSJ. The Make A Wish stamp is called an ATS from FSJ, which stands for Artist Trading Stamp. ATS stamps are usually either single stamps or smaller stamps if there is more than one. The oval was die cut using a Stampin' Up die set, but the banner behind the oval is a die set from FSJ - I was impressed with this set, you get several dies in the set and some of them are huge! The cardstocks are all Stampin' Up.and the little speckles you see in the background is also a stamp set from SU. Make A Wish -this also comes as a bundle if you'd like to be able to cut the sentiment out. Banner Parade Die Set Black Licorice True Color Fusion Ink Pad Next, let's check out the card with the small floral stamp. This card was super quick and easy to make! The floral stamp comes in a set with three other floral stamps plus several sentiments and come from FSJ. Definitely a set worth having, in my opinion. The sentiment below is from a different stamp set from FSJ that contains several birthday related sentiments that are great for the front of your cards as well as the inside. I used dies from Stampin' Up to cut out the floral stamp and then to frame it and I finished the card off with a strip of Washi Tape, also from Stampin' Up. Super cute, super quick, super easy. Gotta love those types of cards! And for the last card of the day, we have the large floral. This stamp set from FSJ has two large, very lovely, floral pieces as well as three sentiments. I saw the two floral pieces and just had to have the set, love them! They are so pretty, I didn't even feel the card needed any other decoration on it. The inks and cardstocks are all from Stampin' Up, as well as the Happy Birthday stamps. I used markers from SU to color in the image. If you'd like to purchase any of the Fun Stampers Journey products used to make any of these cards, I've provided links to each product below each card description. If you have any questions about any of the other products or how to make the cards, just leave me a comment or contact me via Messenger or Email (please be sure to put something in the subject line so I will not mistake your email as spam.). I hope you enjoyed today's cards as much as I did making them. : ) Until next time... Peace Love Chocolate, 
0 Comments
Leave a Reply. |
Coach #10406

My Journey Coach # is 10406 if you aren't taken directly to my store when clicking on the link above.
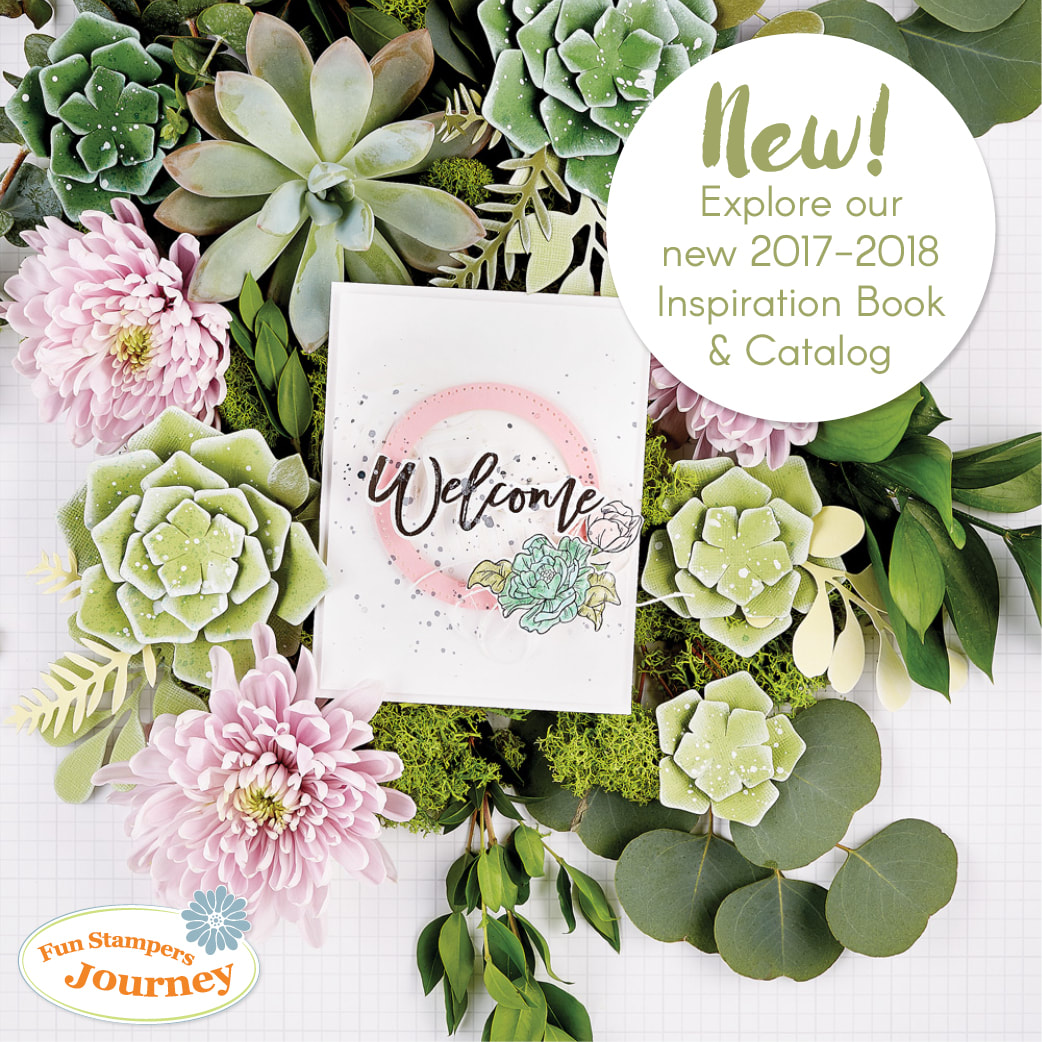
2017-2018 Inspiration Book & Catalog
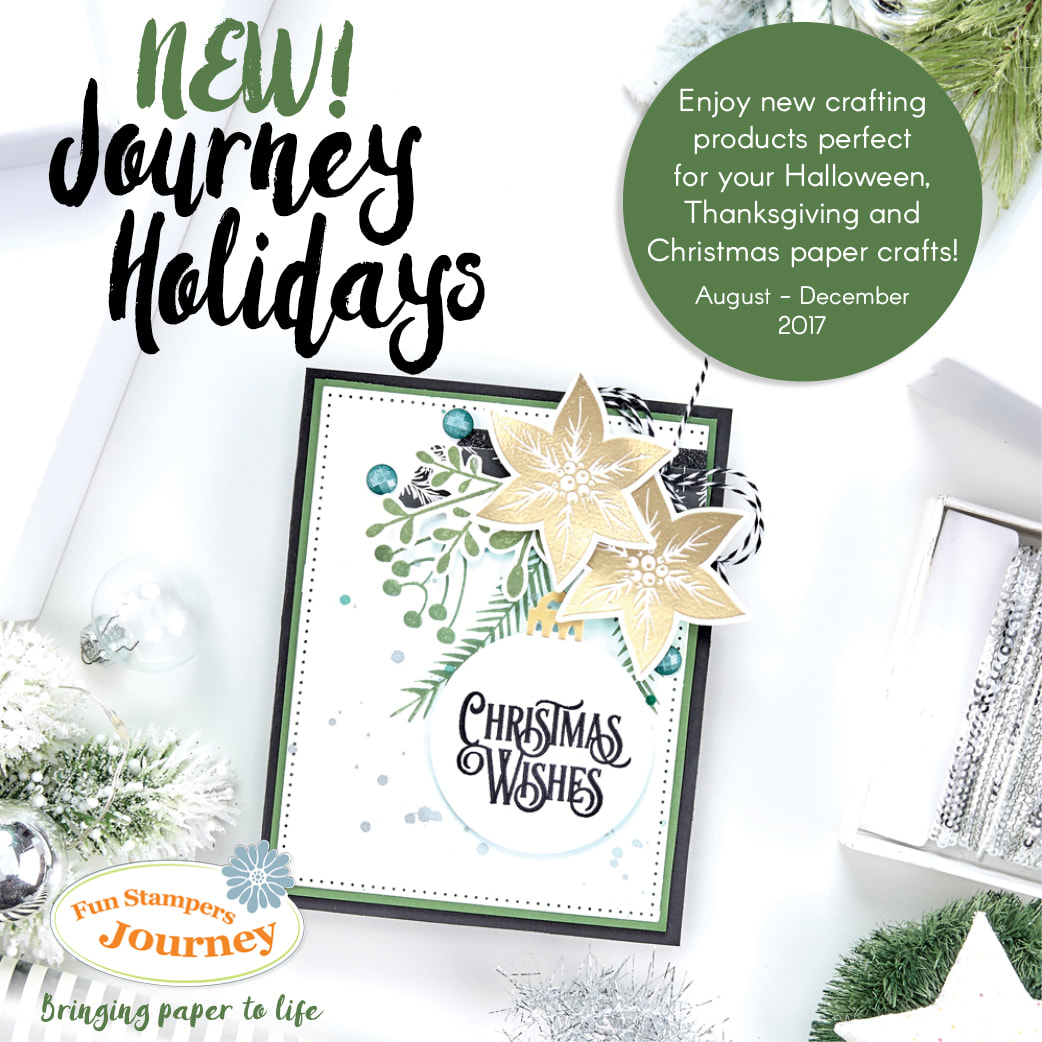
Journey Holiday Trends Mini Catalog
Archives
August 2017
Categories |
 RSS Feed
